Wiki Home Create Boot Image Upload Image Failed
Upload Image Failed
2016/08/14 01:45
Notice: This wiki is for the old version CCBoot. Please click HERE to access the new version wiki
Normally, the reasons that cause image uploading failed can be find as below.
1. Can Not Connect to the Host
1) Make sure the CCBoot server & CCBoot client works fine and in the same network.
2) Suppose server IP is 192.168.1.198, type "ping 192.168.1.198" into the "Command Prompt" window, when you get the information as follow, it means ping server successfully (Figure 1-1).
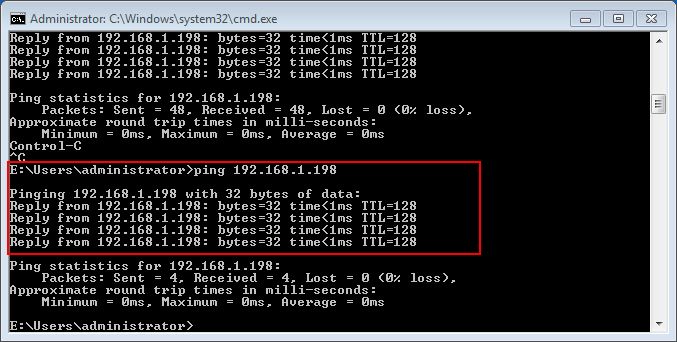
Figure 1-1
3) Suppose client IP is 192.168.1.110, type "ping 192.168.1.110" into the "Command Prompt" window, when you get the information as follow, it means ping client successfully (Figure 1-2).
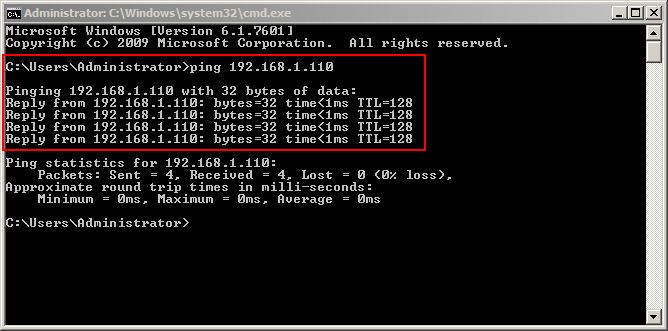
Figure 1-2
2. No Permission
2.1 Admin Password Not Set
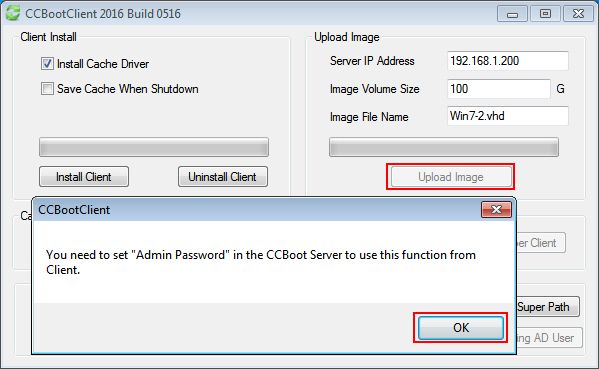
From new version of CCBoot 20160516, image upload may fail if you have not set "Admin Password" in the CCBoot "General Options" .
1) When you try to upload image, you will be prompted to enter password. The password is set in "General Options" in the "Admin Password" field. If its empty then you will get the following prompt (Figure 1-3).
Figure 1-3
1) Open "Options" from tool bar and enter password in the "Admin Password" field an click "OK" (Figure 1-4).
Note: in the client when uploading, you need to enter the same password set above to upload image successfully.
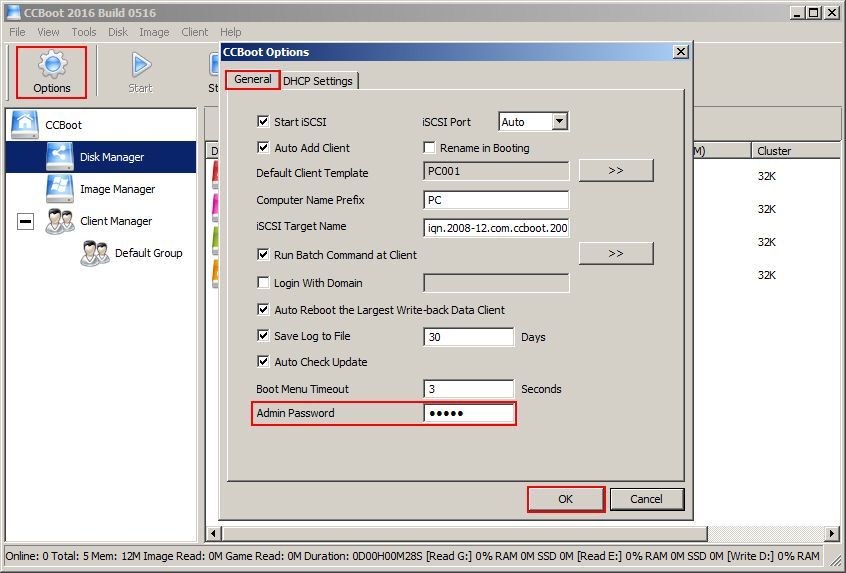
Figure 1-4
2.2 Check DHCP
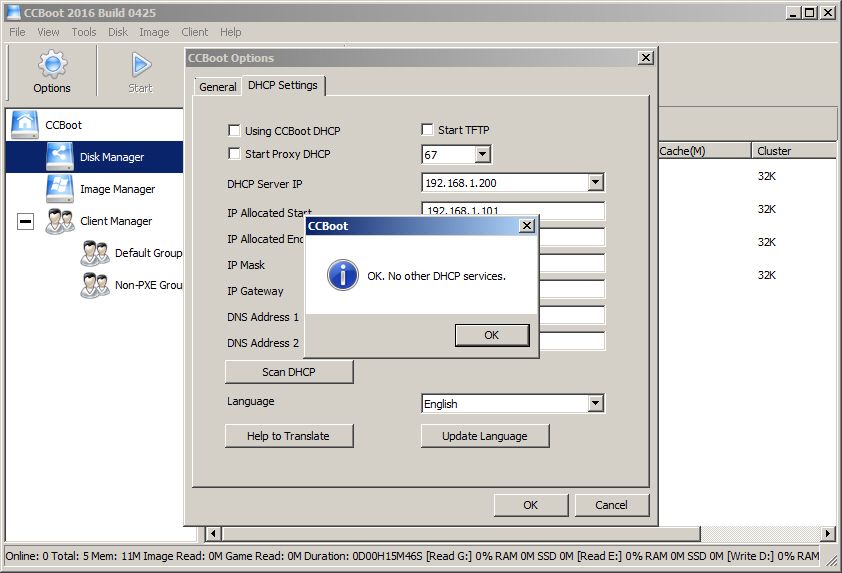
1) Click the "Options" in the CCBoot interface, in the pop-up dialog box click "DHCP Settings" tab, then click "Scan DHCP" button in the "DHCP Settings" interface, make sure there is no other DHCP in the same network (Figure 1-5).
Figure 1-5
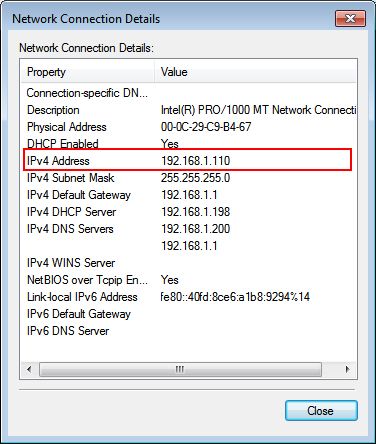
2) Check the client IP address, make sure the client IP is allocated from CCBoot server, Here the correct CCBoot client IP address is 192.168.1.110 (Figure 1-6).
Figure 1-6
Note: You need to check CCBoot client IP address, make sure the client IP address is allocated from CCBoot server. Here the CCBoot client IP address is 192.168.101.136. If there are other DHCP services on the LAN, shut them down avoid the conflict between the CCBoot DHCP and other DHCP service. Especially, please disable the DHCP service in the router.
3. Connect Send Failed
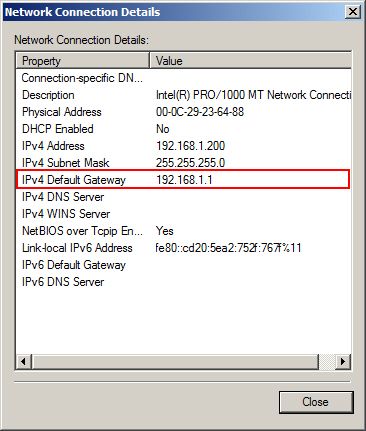
1) Check CCBoot server IP, make sure server and client in the same network (Figure 1-7).
Figure 1-7
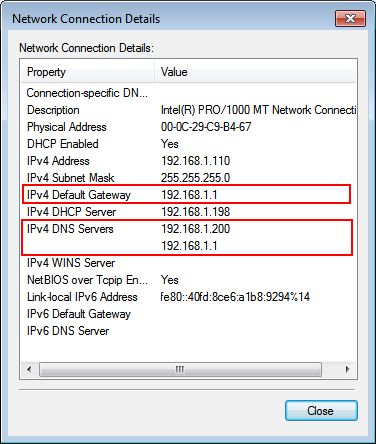
2) Check CCBoot client IP, make sure server and client in the same network (Figure 1-8).
Figure 1-8
4. Connect Server Failed
When you upload image and enter password and click ok, then suddenly you get a prompt "Connect Server Failed".
1. The error means that client is not able to connect to server.
2. The cause of this error is firewall settings in the server blocking CCBoot connections.
3. Open firewall settings in the server.
4. Click on "Allow an app through firewall"
5. check and see if CCBoot is in the allowed list or not.
6. If its not in allowed list then add it and check both "Private" and "Public" check boxes and click "Save" button.
7. Now, try again to upload image and it will work now.
Related:
Clients Cannot Connect to the Internet
Standard Method to Create Boot Image for Legacy PCs
Create Boot Image


