Wiki Home Cafe Billing Issues CCBoot supports PanCafe Pro
CCBoot supports PanCafe Pro
2018/06/19 21:26
Notice: This wiki is for the old version CCBoot. Please click HERE to access the new version wiki
1. Install and Configure PanCafe Pro server on your billing server (Or your CCBoot server if your billing server and CCBoot server is same).
2. Once configure, enable one of the client as superclient. We take PC002 as example here.
3. Boot the client and download or copy PanCafe Pro on CCBoot client and run it.
4. It will ask you to choose "Language" let it be "English" by default (Figure 1)
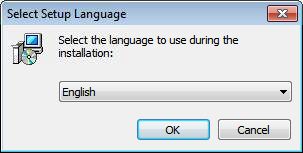
Figure 1
5. Now click "Next" to continue (Figure 2)
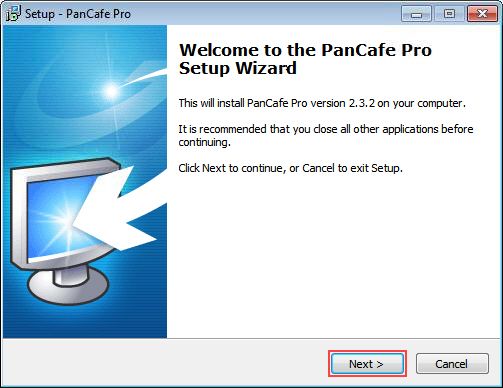
Figure 2
6. Now choose "PanCafe Pro 2.3.2 [Client]" and click "Next" to start install PanCafe Pro client application (Figure 3)

Figure 3
7. Select "I accept the agreement" and then click "Next" to proceed (Figure 4)
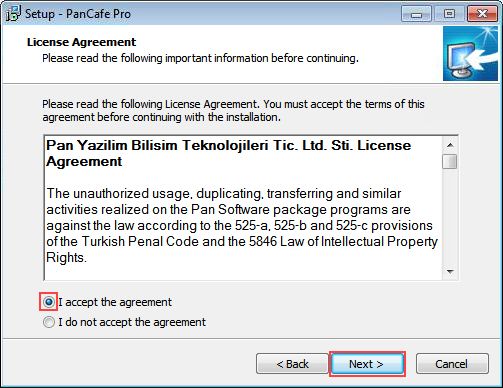
Figure 4
8. Now, click "Next" button till you see "Install" button, click "Install" to proceed with installation (Figure 5)
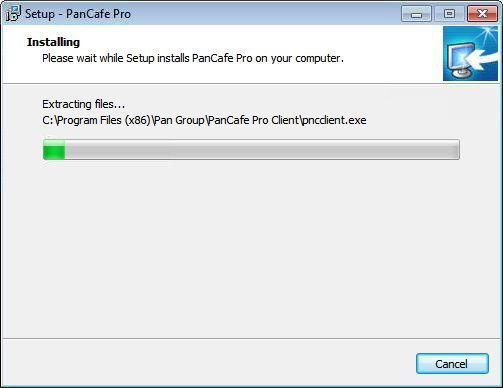
Figure 5
9. Once it completes, check the "Launch PanCafe Pro Client" check box and note down the Default username/password for future use. Click "Finish" (Figure 6)
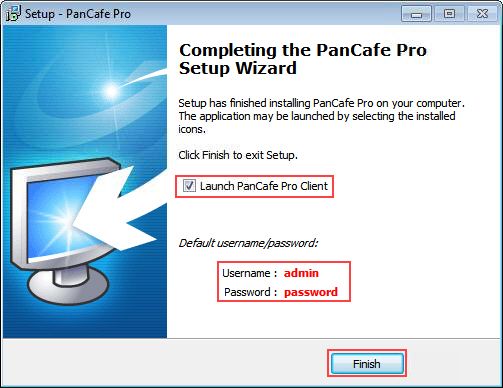
Figure 6
10. You will see the PanCafe Pro Client lock screen (Figure 7).
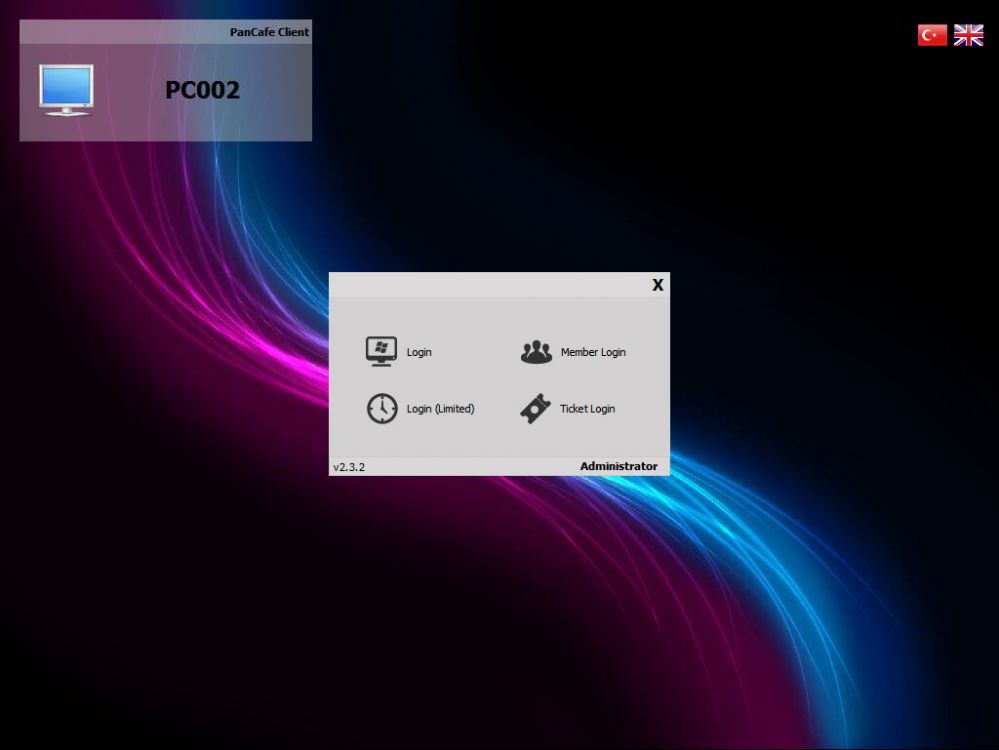
Figure 7
Note: If the PanCafe Client does not open then run the PanCafe Client program as admin once so it will create startup entry as well as run properly.
11. Check you PanCafe Pro server, the client will be listed in it (Figure 8).
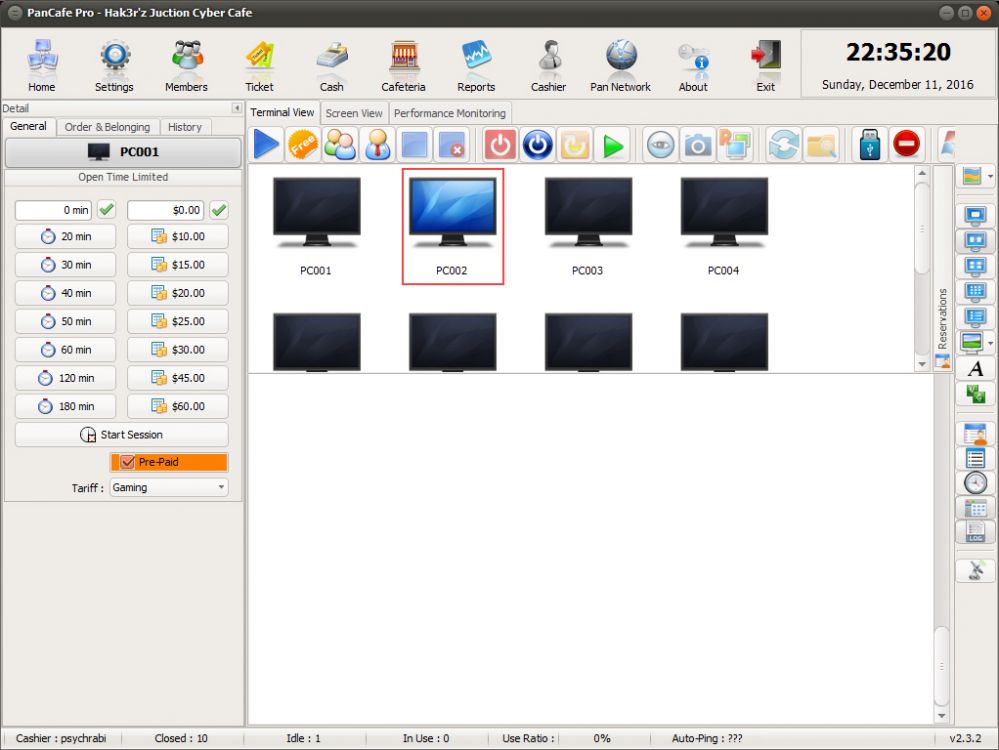
Figure 8
12. Now, turn off the client and choose to save the superclient data when you "Disable Superclient".
13. Finally. turn on rest of your computers, and it will list on the server and boots to PanCafe Pro Lock Screen.
Note: If your users are not able to copy/move files in to USB drives in the PanCafePro Client, then please "Enable" the "USB Disk Restriction" from the desired or all clients (Figure 9)
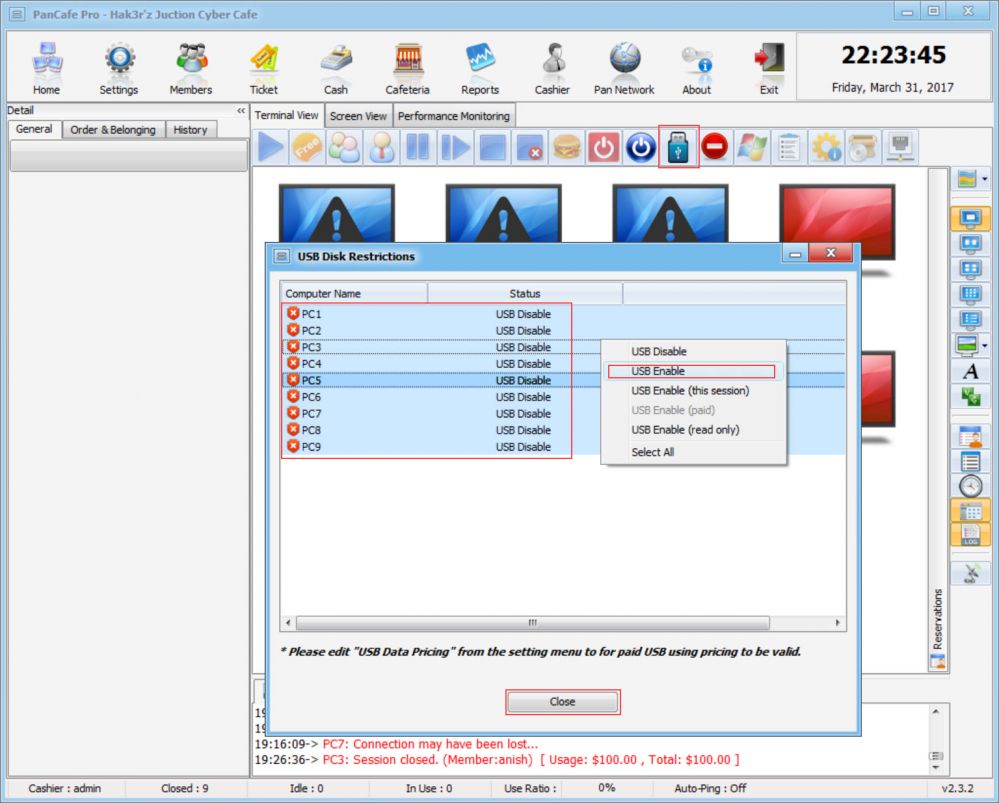
Figure 9
