Wiki Home Installation Install CCBoot server
Install CCBoot server
2023-06-04
install, server
The following guide walks you through downloading, installing, and setting up CCBoot, including initial configuration steps, server reboot instructions, and how to set a static IP on the server.
- Download and install the latest version of CCBoot Setup Package from the website.
- Installation process takes about a minute.
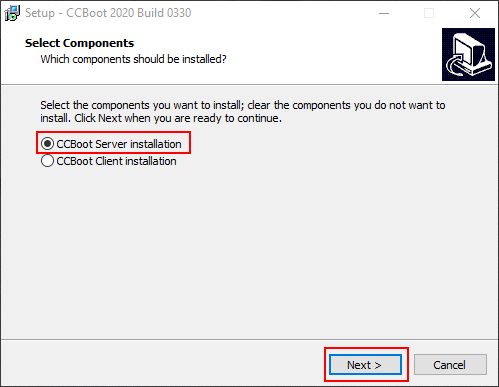
- Open CCBoot setup, select “CCBoot Server installation” and click “Next” button (Figure 1).
Figure 1
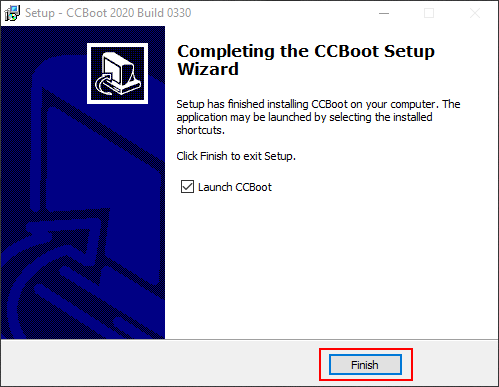
- Continue with the installation till you reach the last dialog, check the “Launch CCBoot” checkbox and click the “Finish” button (Figure 2).
Figure 2
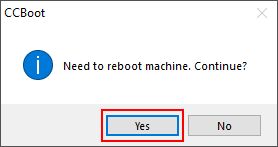
- On the pop-up dialog box, click the "Yes" button to reboot your server (Figure 3).
Figure 3
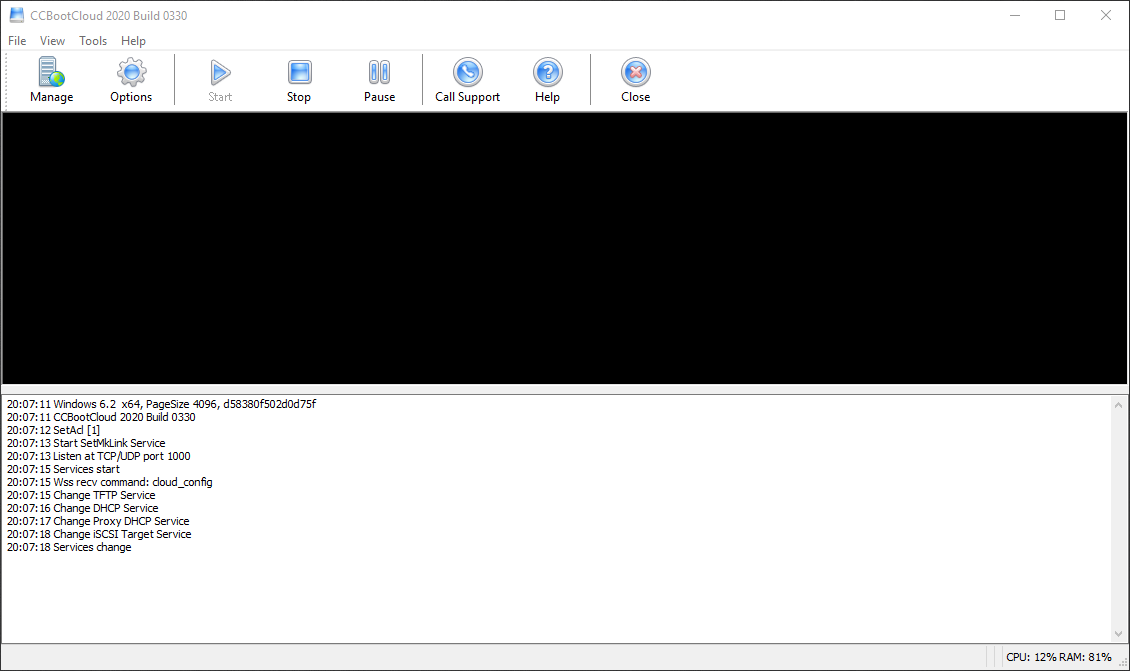
- Once the server is rebooted, double click the CCBoot icon on the desktop to open the CCBoot main UI (Figure 4).
Figure 4
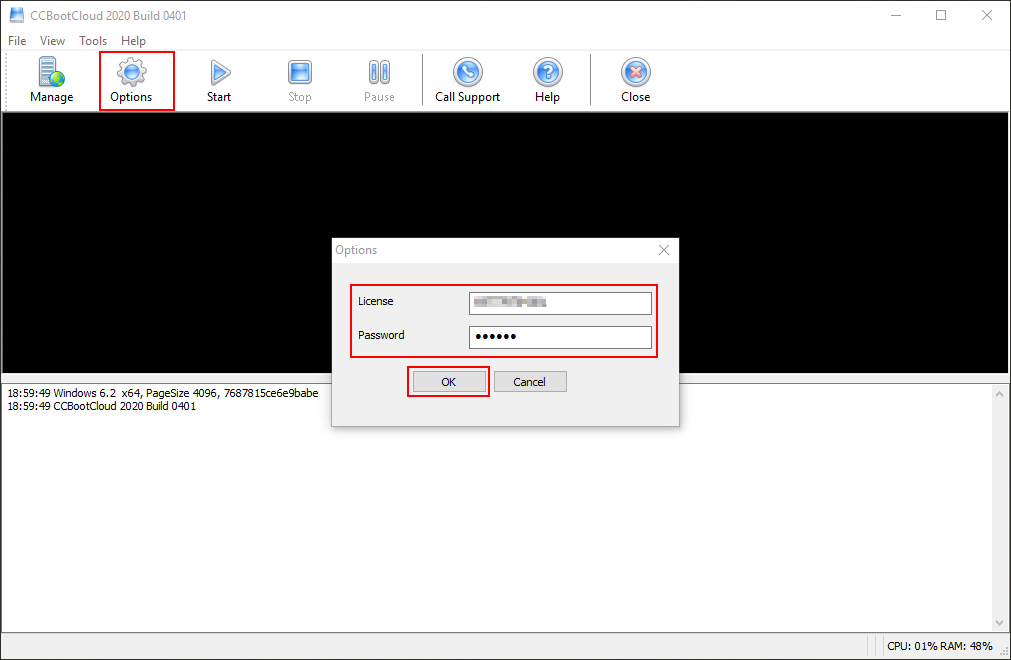
- Click on the “Options” button enter your license and password and click on the “‘Ok’’ button (Figure 5).
Figure 5
- Clicking on "Options" and then "Ok" will prompt CCBootcloud to reconnect to the cloud server. In this process, you may notice two lines, which are completely normal as it
indicates a reconnection and not a disconnection. (Figure 6)
Wss connect failed
Wss reconnect after 21 s
Figure 6
- To ensure stable network communication, it is essential to set a static IP address on the server.
- Open Network & Internet Settings.
- Navigate to the Ethernet section.
- Select the connected Ethernet network and click on Properties.
- In the properties window, double-click on Internet Protocol Version 4 (TCP/IPv4).
- Select Use the following IP address and enter the IP details manually.
- Click OK to save the changes.

