12.1 Update Image
Updating the Client’s Image has two (2) methods.
Keep Write-back and Save to Image
Create Restore Point and Super Client
Method 1: Use "Keep Write-back File" and "Save to Image" (Recommended).
Choose one client PC as the update client. Click to select the "Keep Write-back File" check box in the "Client Properties".
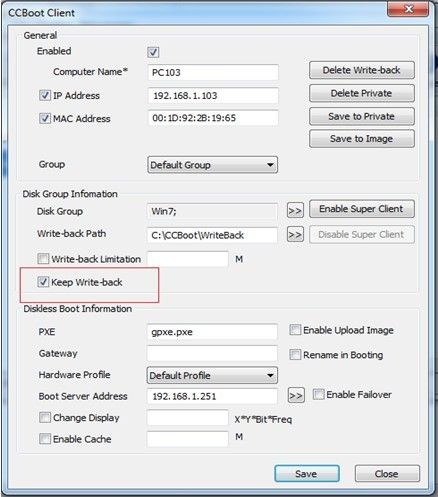
Figure 1
Diskless boot Windows on this client PC and do some modifications as you wish. For example, install Windows updates and application level software’s.
Shut down the client PC. Click the "Save to Image" button in the "Client Properties" window. Uncheck the "Keep Write-back File" option when finished.
Method 2: Use "Super Client"
1. Back up the image you plan to update
2. Click "User Manager"Choose one (1) client PC as the update client that is using this image, Double click to open client properties window below and click enable super client. (Figure 2).
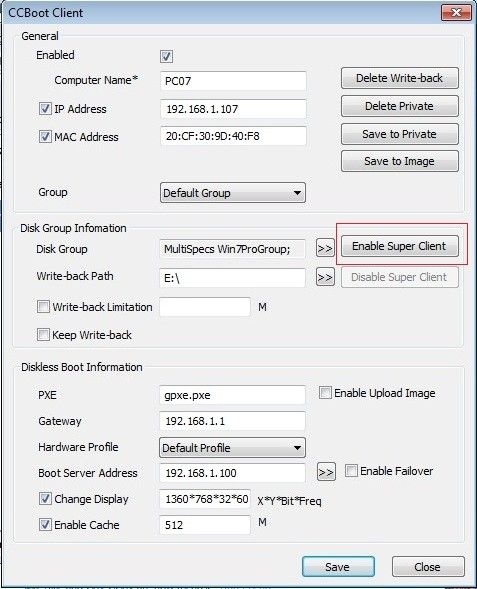
Figure 2
3. Put check on the image you want to update. (Figure 3). And it will prompt a message box asking you if you want to create recovery for the image. Press yes (Figure 4) and type the Restore Point Description. (Figure 5)
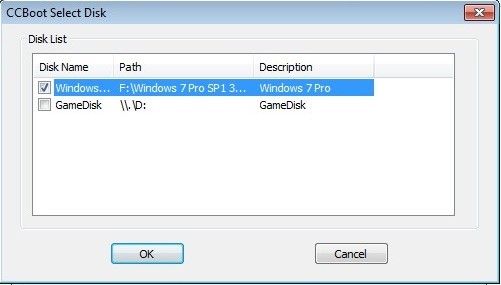
Figure 3
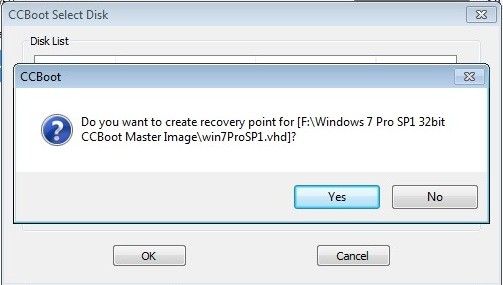
Figure 4
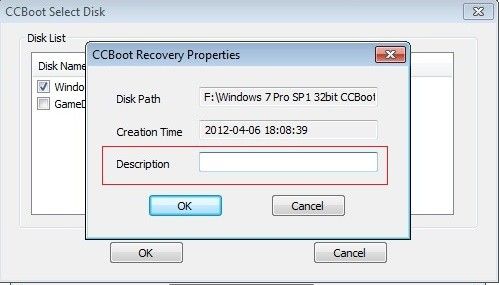
Figure 5
4. Diskless boot the client and do some modifications as you wish. For example, install Windows updates and application level software’s.
5. Shutdown the client PC and click "Disable Super Client" in the "Client Properties" window. Now, the image has already been modified.
With this method, the client will update the image directly and you can still recover the image by using Disk Recovery Restore point features.
Related links:
