25.10 Clients Virtual Memory Management
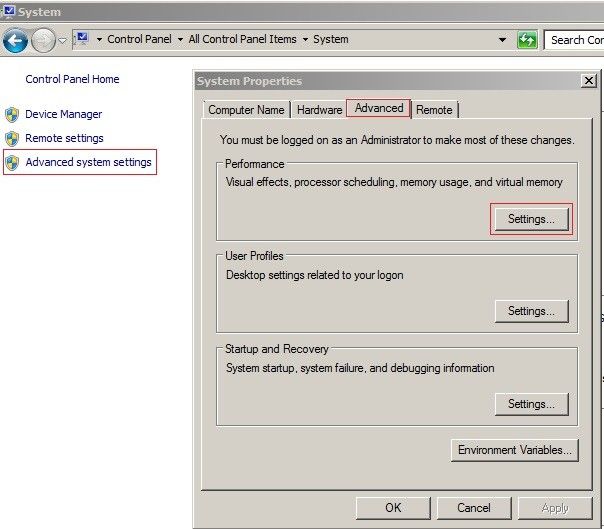
Right-click "Computer" and select "Properties" in the pop-up system interface, click Advanced System Settings, select the "Advanced" tab in the "System Properties" pop-up in the "Advanced" optiontab, select the "performance" click "Settings" as shown
In the pop-up "Performance Options", select "Advanced", click on "Change", in the pop-up "virtual memory" option box. Canceled in front of "Automatically manage paging file size for all drives" check box, and click OK. As shown in the following figure
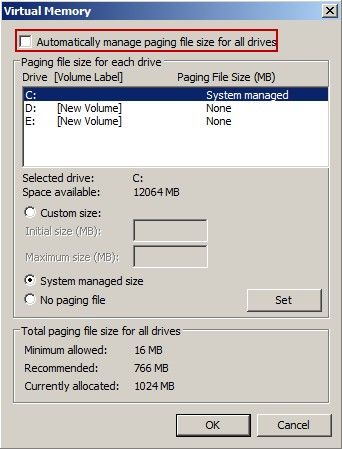
Click on the C drive, check the "System managed size, click on Settings.
Related links:
25.2 Server Bios SATA Configuration
25.4 Server Hard Disk Allocation
25.5 SuperCache method of installation
25.6 Server Network Optimization
25.7.1 Server read cache settings
25.7.2 Write-back disk SuperCache cache settings
25.8 Server’s Virtual Memory Management
25.9 The client's local cache settings
25.10 Clients Virtual Memory Management
25.11 System Restore Point Management
25.13 Client network optimization
25.14 System Patches Installation
25.15 Clear Windows 7 64bit Water Mark